On this first part, we create a Content Switching Virtual Server.
To do so, log in to you Netscaler and go to:
Traffic Management -> Content Switching -> Virtual Servers
Click 'Add' button, to add new Content Switching Virtual Server (CSVS)
In my demo environment, I'm using follong settings:
Name: ContentSwitch-VIP
Protocol: SSL (reason for this -> I'm about to show how to do http -> https redirect on at later on)
IP Address type: IP Address
IP Address: 192.168.86.3 (this is a subnet in my VMware workstation)
Port: 443 (default SSL (HTTPS) port)
So fill your settings and click OK
After giving initial settings for CSVS, click OK (we will fill in Policies later on)
Click 'Certificates' button on a right side pane (I'm not going through how to set up Certificates on Netscaler, but you should have one ready at this point. Good guide can be found here: http://support.citrix.com/article/CTX121617)
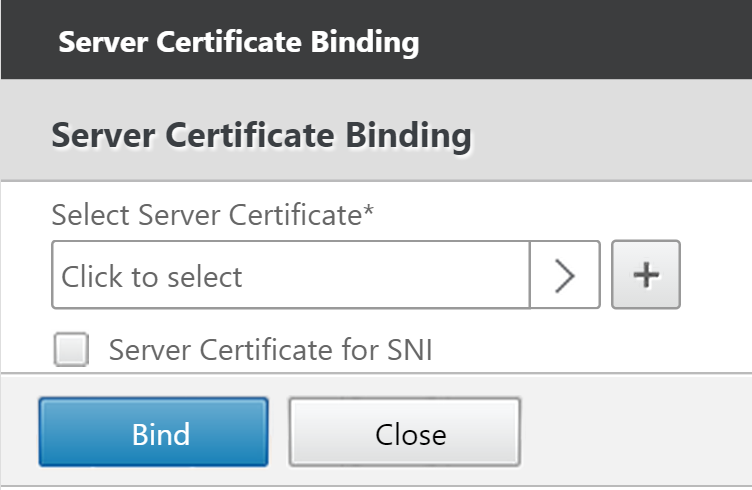
Next, click on 'No Server Certificate'
Click on 'Click to select'
You should see you certificate in this list, in my example, I'm using 'test_certificate'. So, select your certificate and click OK
Click 'Bind'
And now, basic settings for your CSVS are ready, so you can click on 'Done'
After creating CSVS it's status is shown 'Down'. Click on refresh button and status will update.
You can try now with your browser, if CSVS is answering, you should get a page like this:
Same thing in CLI can be done with these two commands:
add cs vserver ContentSwitch-VIP SSL 192.168.86.3 443 -cltTimeout 180 -Listenpolicy None
bind ssl vserver ContentSwitch-VIP -certkeyName test_certificate


No comments :
Post a Comment